Description
Automotive Iron On Patches Custom Designs
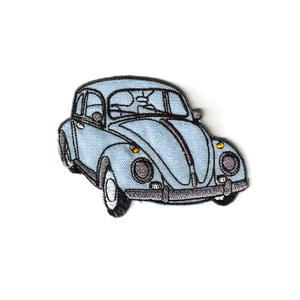
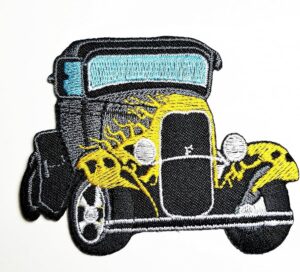
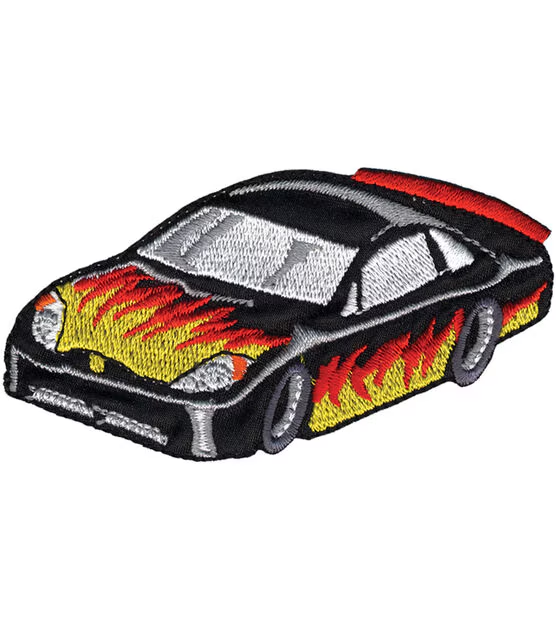
The desire of car enthusiasts to personalize their vehicles extends beyond performance enhancements. Iron-on automotive patches are a quick and simple way to show off your love of cars and add a little personality. Let’s look at different kinds of iron-on car patches, how to apply them, and how they can change the look of your car.We also have Auto Patches Car Enthusiasts
Finding the Perfect Match: A World of Iron-On Patch Designs 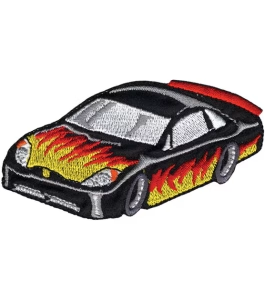
Iron-on automotive patches come in a variety of styles to suit your taste and car passion:
Classic Car Logos: Rep your favorite car brand with official or unofficial logos, displaying your loyalty and appreciation.
Funny Sayings: Inject some humor into your car’s appearance with playful slogans related to car culture or your driving style. These can be great conversation starters.
Racing Symbols: Express your love for motorsports with checkered flags, racing stripes, or logos of your favorite racing teams.
Personalized Touches: Take it a step further with custom iron-on patches featuring your name, car model, or a special message.
Material Matters: Durability for the Long Haul
While the convenience of iron-on application is a major benefit, consider the material for long-lasting results:
Embroidered Patches: These offer a classic and high-quality look, but might require a higher ironing temperature and additional reinforcement for car exteriors due to weather exposure.
Vinyl Patches: A popular choice due to vibrant colors and affordability. Vinyl patches often offer good durability for car exteriors with proper application.
Applying Your Patch with Precision: A Guide to Success
Applying your iron-on patch is a simple process, but following these steps ensures a secure and long-lasting result:
Clean and Dry: Ensure the application area on your car is clean, dry, and free of grease or dirt for optimal adhesion.
Preheat Your Iron: Set the iron to the temperature recommended for the specific patch material (usually cotton or polyester settings).
Position with Care: Carefully place the patch on the desired location on your car.
Iron with Pressure: Apply firm pressure and hold the iron for the recommended time (typically 30-60 seconds) according to the patch instructions.
Cool Down & Secure: Let the patch cool down completely before touching it. Some patches might recommend additional ironing on the back for a stronger hold.
Test the Adhesion: After cooling, gently tug on the edges of the patch to ensure it’s securely attached.