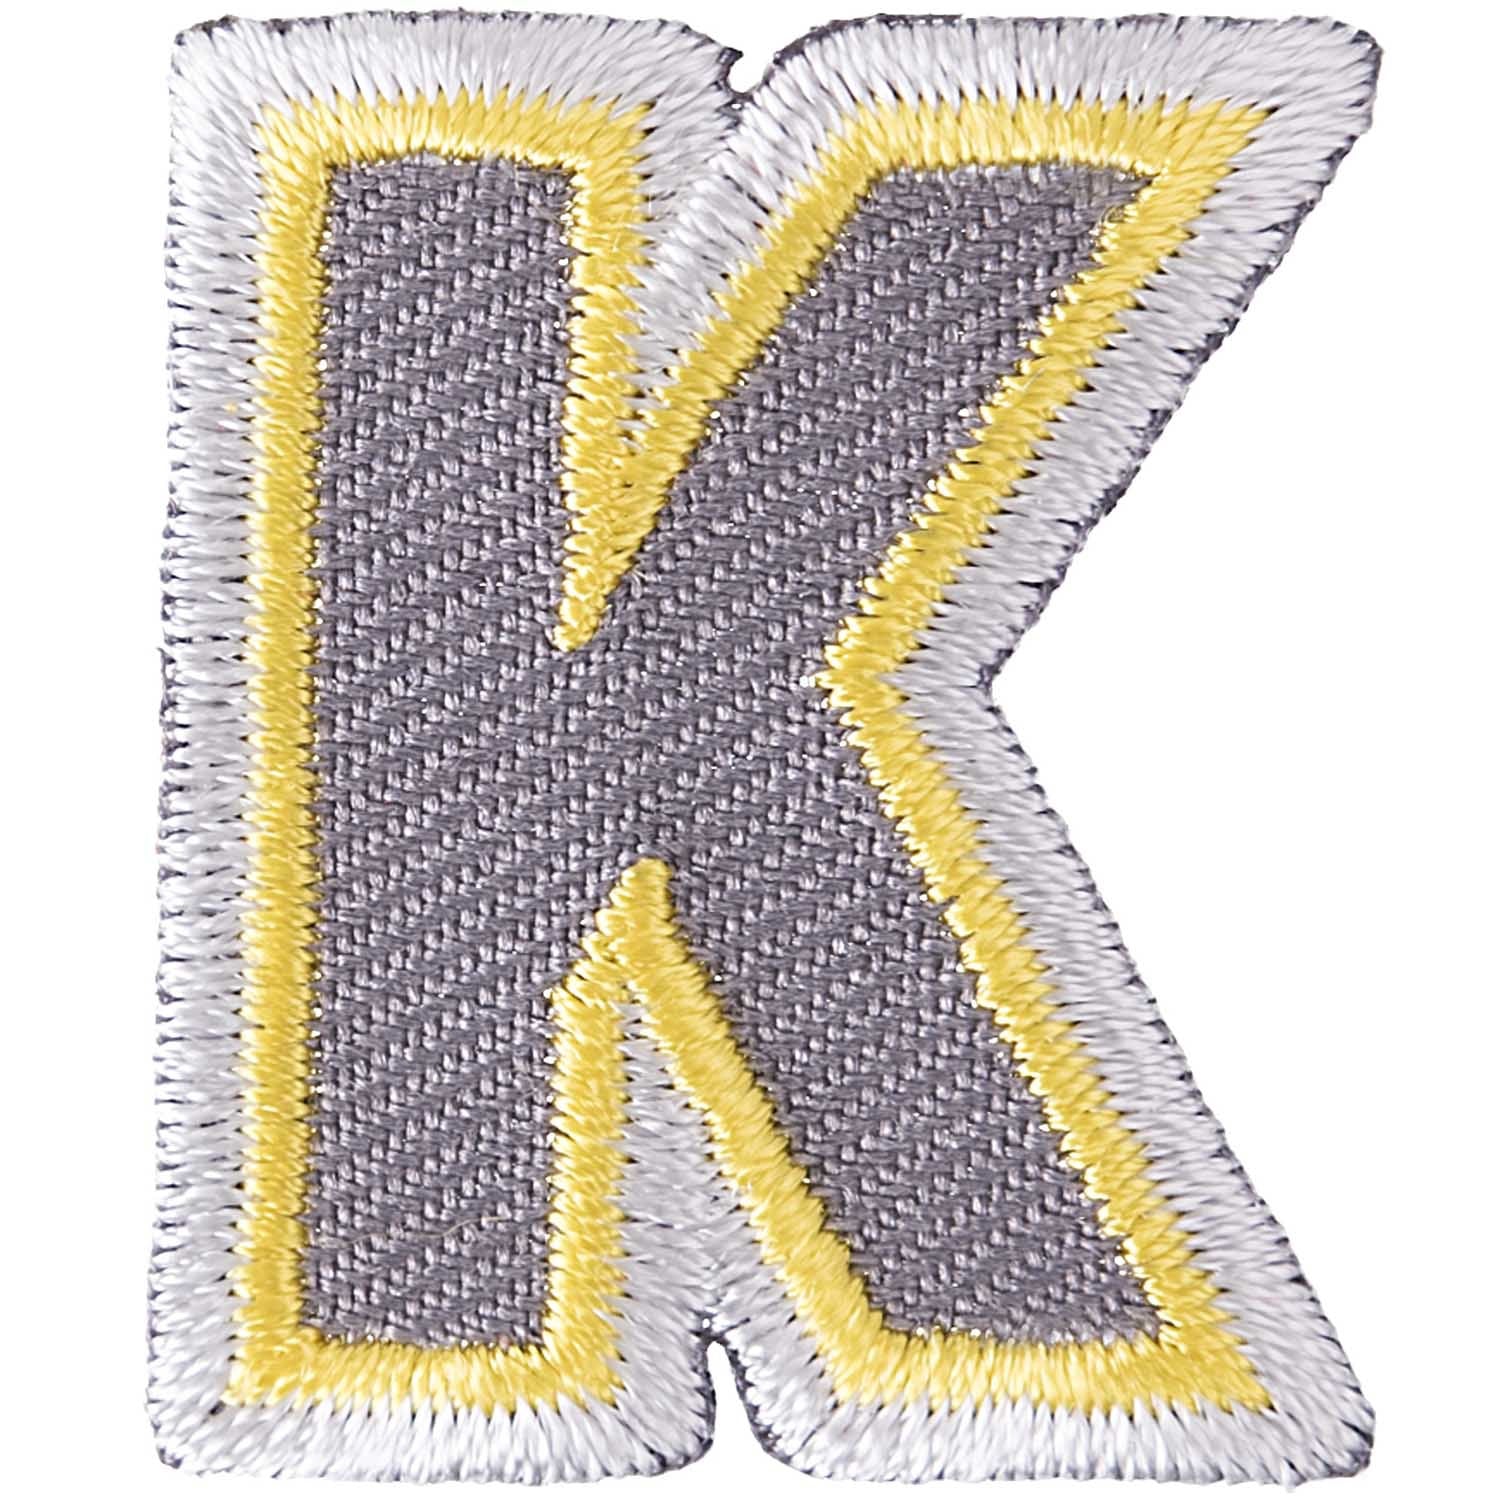
Description
Iron Letter Patches
The Heat is On: A Guide to Iron-On Letter Patches
Iron-on letter patches offer a fun and accessible way to personalize clothing, accessories, and even home decor projects. These heat-activated embellishments come in a vast array of styles, materials, and sizes, allowing you to express your creativity and add a touch of individuality to any item. This comprehensive guide delves into the world of iron-on letter patches, exploring their benefits, choosing the right patch, application methods, caring tips, and inspiring design ideas. WE also have Adhesive Letter Patches
The Allure of Iron-On Patches: Effortless Personalization with Heat 
Iron-on letter patches offer several advantages that make them a popular choice for DIY enthusiasts and crafters:
Easy Application: Unlike sew-on patches, iron-on patches require minimal sewing skills. With a household iron and a few minutes of your time, you can transform an ordinary item into a personalized masterpiece.
Versatility Unbound: Iron-on letter patches come in various sizes, colors, materials, and designs. Decorate clothing, hats, backpacks, tote bags, throw pillows, and even lampshades with these versatile embellishments.
Budget-Friendly: Iron-on letter patches are generally more affordable compared to custom-made or embroidered patches. This makes them a budget-friendly option for adding a personal touch to your belongings.
Variety is Key: From classic felt letters to playful chenille patches or even glittery options, iron-on patches cater to diverse styles and preferences. You can find a style that complements your project perfectly.
Choosing the Perfect Patch: Considerations for a Flawless Finish
Selecting the ideal iron-on letter patch involves considering several factors to ensure a successful and visually appealing application:
Project Suitability: While versatile, iron-on patches might not be suitable for all materials. Avoid using them on delicate fabrics like silk or synthetic fabrics that melt easily under high heat. Opt for fabrics like cotton, denim, canvas, or linen that can withstand ironing temperatures.
Size and Scale: Choose a patch size appropriate for the surface area you’re decorating. Oversized letters might overwhelm a small item, while tiny letters might get lost on a large tote bag.
Color Harmony: Consider the overall color scheme of your project when selecting the patch color. Opt for contrasting colors for maximum visual impact or choose complementary colors for a more subtle look.
Material Matters: Iron-on letter patches come in various materials, each with its own advantages:
- Felt: A popular and affordable choice, felt patches offer a soft and comfortable texture. They come in a wide variety of colors and are suitable for most applications.
- Twill: For a more durable and structured option, twill patches are ideal. They are slightly stiffer than felt and can withstand frequent wear and tear.
- Chenille: Embrace a playful and textured look with chenille patches. These add a dimensional element to your project and are especially popular for children’s clothing or accessories.
- Embroidered: For a touch of elegance, consider embroidered iron-on patches. These offer intricate details and a high-quality look, perfect for special occasions or personalized gifts.
- Glitter: Add a touch of sparkle with glittery iron-on patches. These are ideal for adding a fun and eye-catching element to clothing, bags, or even phone cases.
Font Style: The font style plays a crucial role in the overall look and feel of your project. Choose a font that is clear and easy to read, especially if using smaller letters. Classic block letters, playful script fonts, or even collegiate-inspired fonts are common options.
The Art of Heat Transfer: Application Methods for Lasting Results
Applying iron-on letter patches involves a simple process, but following the correct steps ensures a secure and long-lasting bond:
Gather Your Supplies: You’ll need a household iron, a flat ironing surface (like an ironing board), a heat-resistant pressing cloth (like a thin dish towel), and your chosen iron-on letter patches.
Prepare Your Project: Ensure the application area is clean, dry, and free of wrinkles. Pre-wash and iron your fabric if necessary.
Plan Your Placement: Carefully plan the layout of your letters before removing the plastic backing. Use masking tape or a ruler to ensure even spacing and alignment.
Heat Up the Iron: Set your iron to the appropriate heat setting based on the fabric content and the instructions provided with your iron-on patches. Generally, cotton or linen require a medium heat setting, while synthetic fabrics might require a lower heat setting.
Pre-Heat the Placement Area: Iron the area where you will apply the patch for a few seconds to remove any wrinkles and ensure a smooth surface.


