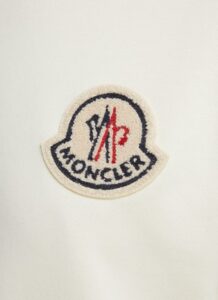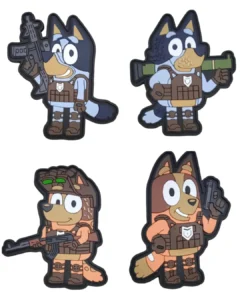
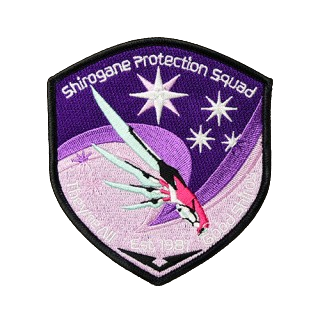
Description
Iron on Custom Patches Sewn
The Best of Both Worlds: Iron-On Convenience Meets Sewn Durability with Custom Patches
When it comes to customizing clothing and accessories, custom patches offer a fun and versatile way to express yourself. But the decision between iron-on and sewn patches can be a tricky one. Iron-on patches are undeniably convenient, while sewn patches offer superior durability. Here’s a comprehensive guide to the combined approach of iron-on custom patches sewn for added security, exploring the benefits, application process, and creative uses for this double-duty customization technique. We also have Custom Patches Velcro with Merrow Border
Why Combine Iron-On and Sewn Patches?
While both iron-on and sewn patches have their merits, combining them offers the best of both worlds:
Initial Convenience: The iron-on backing allows for easy placement and a quick initial application, ensuring your patch is positioned perfectly before permanent attachment.
Long-lasting Security: Sewing the patch around the edges provides superior security, especially for frequently used items or those subjected to wear and tear. This is ideal for:
High-Movement Areas: Patches on elbows, knees, or the backs of jackets benefit from the extra security of sewing to prevent them from snagging or peeling off.
Valuable Garments: For cherished items like vintage jackets or leather motorcycle apparel, sewn reinforcement ensures your patch stays put for years to come.
Frequently Washed Items: Sewing adds an extra layer of security for patches on clothes that go through frequent washing and drying cycles.
Planning Your Iron-On Sewn Patch Project:
Before diving in, here are some key considerations:
Patch Selection: Choose high-quality embroidered or woven patches for a professional look and added durability. Avoid delicate materials that might not withstand the heat of ironing or the stress of sewing.
Needle and Thread: Select a needle size and thread color that complements the fabric of your garment and the patch itself.
Sewing Technique: A simple whip stitch or blanket stitch is all you need to securely sew the patch onto your item.
The Application Process: Iron-On First, Sew for Keeps
Here’s a step-by-step guide to applying your iron-on patch with added sewing reinforcement:
Gather Your Supplies: You’ll need your iron-on patch, iron, pressing cloth (thin dishcloth), needle, thread, scissors, and the item you want to personalize.
Prepare Your Workspace: Find a clean, flat surface to work on. Iron your garment to remove any wrinkles.
Position the Patch: Place the patch on your chosen item in the desired location. Double-check for placement accuracy before proceeding.
Iron-On Application: Follow the manufacturer’s instructions for heat settings and application time specific to your patch. Use the pressing cloth to protect both the patch and your garment.
Cooling Down: Let the area cool down completely before moving on to the sewing step.
Sewing for Long-Lasting Security:
Thread the Needle: Thread your needle with the chosen thread color and knot the end securely.
Sewing Technique: Using a whip stitch or blanket stitch, carefully sew around the perimeter of the patch, catching a small amount of fabric from your garment with each stitch.
Securing the Ends: Once you’ve completed a full loop around the patch, tie a knot with the thread and tuck the end into the fabric to hide it.
Pro-Tips for Flawless Application:
Test on Scrap Fabric: Before applying the patch and sewing it onto your garment, test the iron settings and sewing technique on a small, inconspicuous area of scrap fabric with a similar material.
Start from the Back: For added security, you can also sew the patch onto your garment from the backside before ironing it on from the front.
Creative Uses for Iron-On Sewn Patches:
Iron-on patches with sewn reinforcement open up a world of creative possibilities for personalizing your belongings: