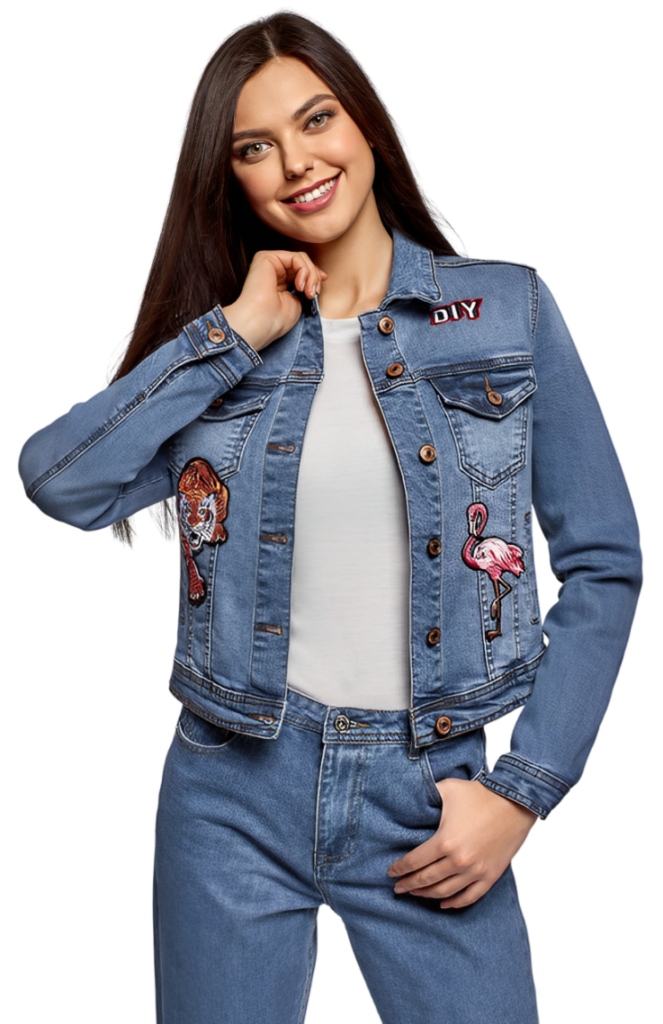

Description
Iron On Letter Patches
The Art of Personalization: A Guide to Iron-On Letter Patches
Iron-on letter patches offer a convenient and creative way to personalize a wide range of clothing and accessories. From adding your initials to a favorite jacket to creating a custom slogan on a tote bag, these versatile patches unlock a world of possibilities. This comprehensive guide delves into the world of iron-on letter patches, exploring different materials and types, choosing the right size and font, design ideas, application methods, and caring for your iron-on creations. WE also have letter patches
Material Matters: Exploring Choices for Your Iron-On Letters
The material of your iron-on letter patch significantly influences its look, feel, and durability. Here are some popular options to consider:
Vinyl: A common choice, vinyl offers vibrant colors, a smooth finish, and affordability. It’s ideal for simple designs and short-term wear.
Fabric: Fabric patches offer a softer texture and a more natural look. They can be made from various materials like felt, canvas, or twill, and are suitable for casual and everyday wear.
Embroidered: Embroidered patches add a touch of dimension and sophistication. The raised threadwork creates a beautiful texture and a more durable finish, making them ideal for long-lasting personalization.
Reflective: For added visibility and safety, consider reflective iron-on letters. These patches are perfect for jackets, backpacks, or hats used during nighttime activities.
Finding the Perfect Fit: Choosing Size and Font
The size and font of your iron-on letters play a crucial role in the overall aesthetic and readability of your design. Here are some factors to consider:
Item Size: Choose a letter size that complements the item you’re personalizing. Smaller letters work well for hats or pockets, while larger letters are more suitable for larger surfaces like tote bags or jackets.
Visual Balance: Maintain a good balance between the letters and the item. Oversized letters might overwhelm a small T-shirt, while tiny letters might get lost on a large tote bag.
Font Style: The font style significantly influences the overall message and personality of your design. Choose a classic serif font for a timeless look, a playful script font for a casual touch, or a bold sans-serif font for a modern statement.
Readability: Ensure the chosen font is clear and easy to read, especially if you’re using multiple lines or creating a custom phrase.
A Universe of Inspiration: Design Ideas for Your Iron-On Letters
Iron-on letters offer a world of design possibilities. Here are some ideas to spark your creativity:
Classic Initials or Monogram: A timeless personalization option, adding your initials or a monogram to a shirt, jacket, or hat creates a subtle yet distinctive touch.
Custom Slogans or Quotes: Express yourself with a motivational quote, funny phrase, or your favorite song lyric ironed onto a T-shirt, tote bag, or hat.
Team Spirit: Unite your squad or promote your team spirit by creating custom iron-on letters featuring your team name, mascot, or a motivational slogan.
Commemorative Dates: Immortalize a special occasion with iron-on letters forming graduation years, wedding anniversaries, or birth dates.
Children’s Clothing: Personalize children’s clothing with their names, nicknames, or playful phrases using cute and colorful iron-on letters.
Securing Your Style: The Art of Iron-On Application
Applying iron-on letter patches is a simple process, but following the right steps ensures a successful and long-lasting application. Here’s what you’ll need:
- Iron-on letter patches
- Ironing board
- Iron (set to appropriate heat setting for the patch material)
- Pressing cloth (optional)
Steps for Iron-On Application:
Prepare your workspace: Set up your ironing board and ensure your iron is plugged in and set to the appropriate heat setting for the patch material (usually indicated on the patch packaging).
Position the patch: Place the iron-on letter patch on the desired location of your garment. Ensure the letters are facing the right way and spaced evenly.
Pre-heat the iron: Heat your iron to the recommended setting. If using a pressing cloth, place it over the patch.
Apply heat and pressure: Firmly press the iron down on the patch for the recommended time (usually 15-30 seconds).
Let it cool: Remove the iron and let the patch cool completely for a few minutes. This allows the adhesive to set properly.